知识点目录
- 6.1 持久化技术简介
- 6.2文件存储
- 6.2.1将数据存储到文件中
- 6.2.2 从文件中读取数据
- 6.3 SharedPreferences存储
- 6.3.1 将数据存储到SharedPreferences中
- 6.4 SQLite数据库存储
- 6.4.1 创建数据库
6.1 持久化技术简介
Android主要提供了3种方式用于实现数据持久化功能:
● 文件存储
● SharedPreferences存储
● 数据库存储
当然也可以存储到手机SD卡中,但使用上面的三种来保存数据会相对简单一些,也比存储在SD卡中更加安全。
6.2文件存储
文件存储是Android中最基本的一种数据存储方式,有如下特点:
不会对存储的内容进行任何格式化处理,所有数据都是原封不动地保存到文件中
适合存储一些简单的文本数据或二进制数据
如果来保存一些较为复杂的文本数据,就需要定义一套自己的格式规范
6.2.1将数据存储到文件中
Context类中提供了一个openFileOutput()方法,可以用于将数据存储到指定的文件中。该方法接收两个参数:
参数一:文件名。文件不可包含路径,因为所有的文件都是默认存储到/data/data/包名/files/目录下。
参数二:文件的操作模式。有MODE_PRIVATE和MODE_APPEND两种
MODE_PRIVATE
默认的操作模式,表示当指定同样文件名的时候,所写入的内容将会覆盖原文件中的内容。
MODE_APPEND
如果文件已经存在,则直接在文件中追加内容,不存在就创建新的文件。
6.2.2 从文件中读取数据
Context类中提供了一个openFileInput()方法,用于从文件中读取数据。该方法只接收一个参数,即要读取的文件名。
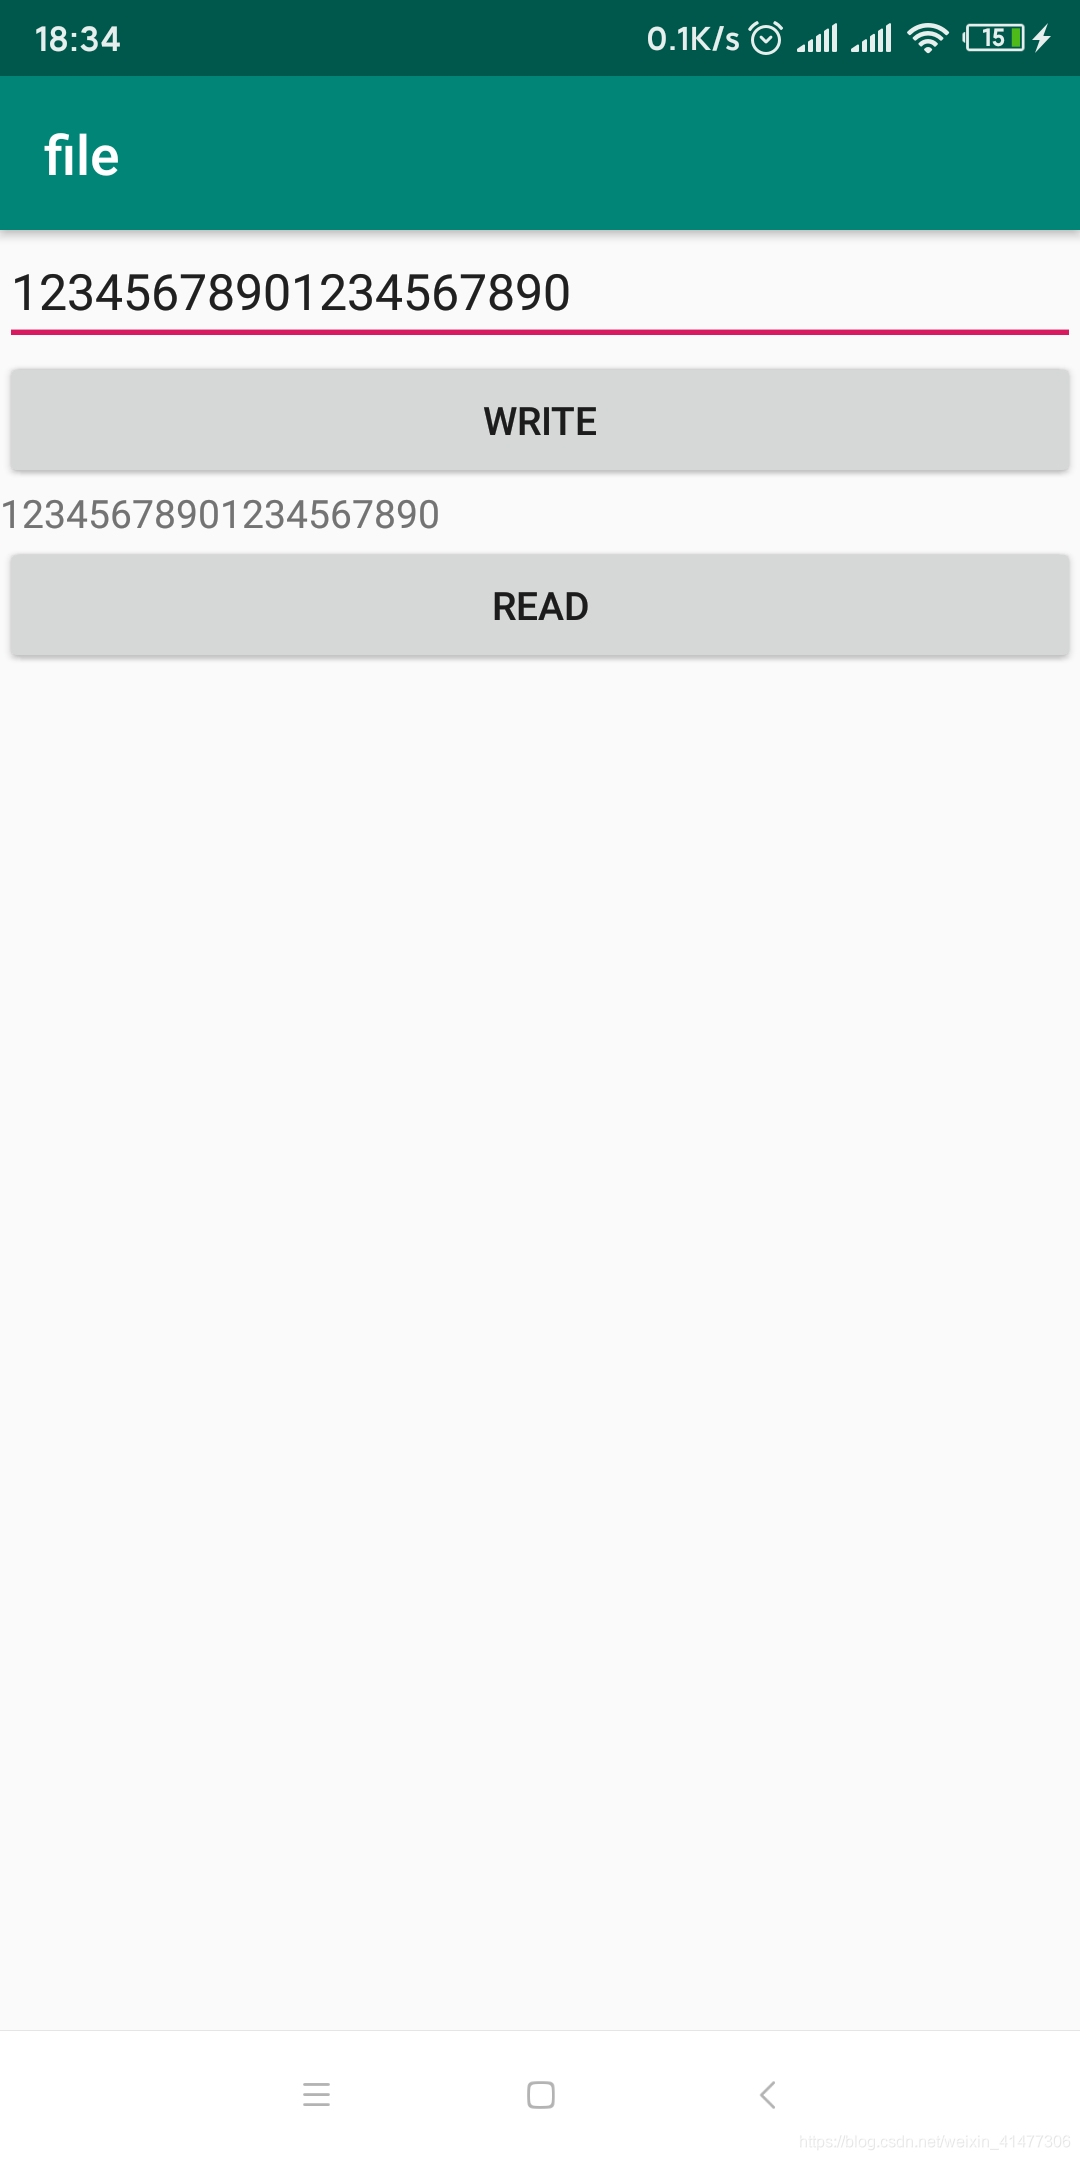
例子:从写入读去文件
MainActivity.java
public class MainActivity extends AppCompatActivity implements View.OnClickListener {

    private static final String TAG = "file";
    private EditText editText;
    private TextView textView;
    private Button write;
    private Button read;
    @RequiresApi(api = Build.VERSION_CODES.N)
    @Override
    protected void onCreate(Bundle savedInstanceState) {
        super.onCreate(savedInstanceState);
        setContentView(R.layout.activity_main);

        editText = findViewById(R.id.editText);
        textView = findViewById(R.id.textView);
        write = findViewById(R.id.write);
        read = findViewById(R.id.read);
        write.setOnClickListener(this);
        read.setOnClickListener(this);
    }

    public void onSaveFile() {
        try {
            FileOutputStream fileOutputStream = this.openFileOutput("data.txt",Context.MODE_PRIVATE);
            String string = editText.getText().toString();
            fileOutputStream.write(string.getBytes());
            fileOutputStream.flush();
            fileOutputStream.close();
        } catch (FileNotFoundException e) {
            e.printStackTrace();
        } catch (IOException e) {
            e.printStackTrace();
        }
    }
    public void onShowFile() {
        try {
            FileInputStream fileInputStream = this.openFileInput("data.txt");
            byte[] bytes =new byte[fileInputStream.available()];
            fileInputStream.read(bytes);
            String string = new String(bytes);
            textView.setText(string);
        } catch (FileNotFoundException e) {
            e.printStackTrace();
        } catch (IOException e) {
            e.printStackTrace();
        }

    }
    @Override
    public void onClick(View v) {
        switch (v.getId()) {
            case R.id.read:
                onShowFile();
                break;
            case R.id.write:
                onSaveFile();
                break;
        }
    }
xml
<LinearLayout xmlns:android="http://schemas.android.com/apk/res/android"
    xmlns:app="http://schemas.android.com/apk/res-auto"
    xmlns:tools="http://schemas.android.com/tools"
    android:layout_width="match_parent"
    android:layout_height="match_parent"
    android:orientation="vertical"
    tools:context=".MainActivity">
    <EditText
        android:id="@+id/editText"
        android:layout_height="wrap_content"
        android:layout_width="match_parent"
        android:autofillHints="请输入:">
    </EditText>
    <Button
        android:id="@+id/write"
        android:layout_width="match_parent"
        android:layout_height="wrap_content"
        android:text="write"
        android:textAllCaps="true">
    </Button>
    <TextView
        android:id="@+id/textView"
        android:layout_width="match_parent"
        android:layout_height="wrap_content">
    </TextView>
    <Button
        android:id="@+id/read"
        android:layout_height="wrap_content"
        android:layout_width="match_parent"
        android:text="read"
        android:textAllCaps="true">
    </Button>
</LinearLayout>
6.3 SharedPreferences存储
SharedPreferences是使用键值对的方式来存储数据的。
6.3.1 将数据存储到SharedPreferences中
要使用SharedPreferences来存储数据,首先需要获取到SharedPreferences对象。Android中主要提供了3种方法用于得到SharedPreferences对象。
1.Context类中的getSharedPreferences()方法
该方法接收两个参数:
参数一:SharedPreferences文件名称,如果文件名不存在就会创建一个。
SharedPreferences文件都是存放在/data/data/包名/shared_prefs/目录下。
参数二:指定操作模式。
目前只有MODE_PRIVATE这一种模式可选,也是默认的操作模式,和直接传入0的效果相同。
2. Activity类中的getPreferences()方法
这个方法跟Context类中的getSharedPreferences()方法很相似,但只接收一个操作模式参数,因为使用这个方法时会自动将当前活动的类名作为SharedPreferences的文件名
3. PreferenceManager类中的getDefaultSharedPreferences()方法
该方法是一个静态方法,它接收一个Context参数,并 自动使用当前应用程序的包名作为前缀来命名SharedPreferences文件
例如:
三种方式进行写入:
//1.context 名字自定
 @SuppressLint("CommitPrefEdits") SharedPreferences.Editor editor = this.getApplicationContext().getSharedPreferences("data",Context.MODE_PRIVATE).edit();
  editor.putInt("num",123456789);
  editor.apply();

//2 使用Activity 自带
SharedPreferences.Editor editor1 = this.getPreferences(Context.MODE_PRIVATE).edit();
editor1.putInt("num1",11111);
editor1.apply();

//3. 使用默认的
PreferenceManager.getDefaultSharedPreferences(this.getApplicationContext()).edit().putInt("com",123).apply();
三种方式读出:
//1.contxt
SharedPreferences sharedPreferences = this.getSharedPreferences("data",Context.MODE_PRIVATE);
int num= sharedPreferences.getInt("num",0);
//2 自帶
SharedPreferences sharedPreferences1 = this.getPreferences(Context.MODE_PRIVATE);
int num1 = sharedPreferences1.getInt("num1",0);
//3 默認
int com = PreferenceManager.getDefaultSharedPreferences(this.getApplicationContext()).getInt("com",0);
6.4 SQLite数据库存储
Android嵌入了SQLite这一款轻量级的关系型数据库,它具有如下优点:
● 支持标准的SQL语法
● 遵循数据库的ACID事务
● 运算速度非常快
● 占用资源很少,通常只需要几百KB的内存