上一节:Vue 路由的基本使用
路由的query参数
先看效果
我们需要创建一个 Detail.vue 组件,根据点击的消息来展示消息id和标题
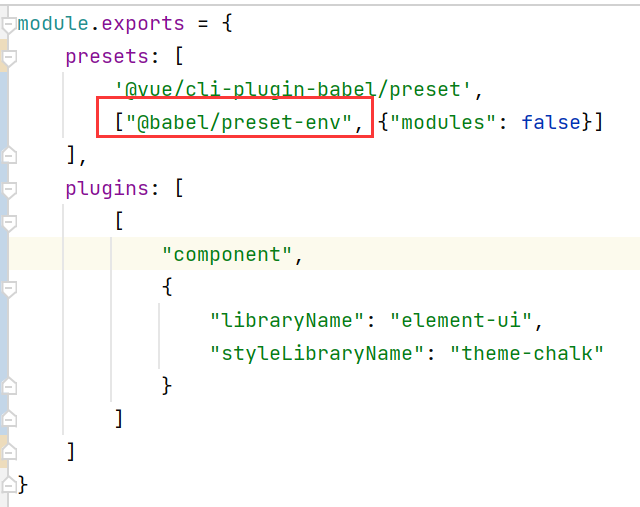
创建路由规则,修改 index.js
......
import Detail from "../pages/Detail";
//创建并暴露一个路由器
export default new VueRouter({
    routes: [
        {......},
        {
            path: '/home',
            component: Home,
            children: [
                {......},
                {
                    path: 'message',
                    component: Message,
                    children: [
                        {
                            path: 'detail',
                            component: Detail
                        }
                    ]
                }
            ]
        },
    ]
})
修改 Message.vue 组件
<template>
  <div>
    <ul>
      <li v-for="m in messageList" :key="m.id">
        <!--跳转路由并携带query参数,to的字符串写法-->
        <!--<router-link :to="`/home/message/detail?id=${m.id}&title=${m.title}`">{{m.title}}</router-link>-->
        <!--跳转路由并携带query参数,to的对象写法-->
        <router-link :to="{
          path:'/home/message/detail',
          query:{
            id:m.id,
            title:m.title
          }
        }">
          {{ m.title }}
        </router-link>
      </li>
    </ul>
    <router-view></router-view>
  </div>
</template>

<script>
export default {
  name: "Message",
  data() {
    return {
      messageList: [
        {id: "001", title: "消息001"},
        {id: "002", title: "消息002"},
        {id: "003", title: "消息003"},
      ]
    }
  }
}
</script>
创建 Detail.vue 组件
<template>
<ul>
  <li>消息编号:{{$route.query.id}}</li>
  <li>消息标题:{{$route.query.title}}</li>
</ul>
</template>

<script>
export default {
  name: "Detail"
}
</script>
小结
1.传递参数
<!-- 跳转并携带query参数,to的字符串写法-->
<router-link :to=" /home/message/detail?id=666&title=你好">跳转</router-link>
<!--跳转并携带query参数,to的对象写法-->
<router-link
:to="{
	path:'/home/message/detail',
	query:{
		id:666,
		title:'你好'
	}"
}>
跳转
</router-link>
2.接收参数
$route.query.id
$route.query.title
命名路由
命名路由就是给路由起名字,可以简化代码,增加 name 属性即可。修改 index.js,给 Detail 增加 name 属性:
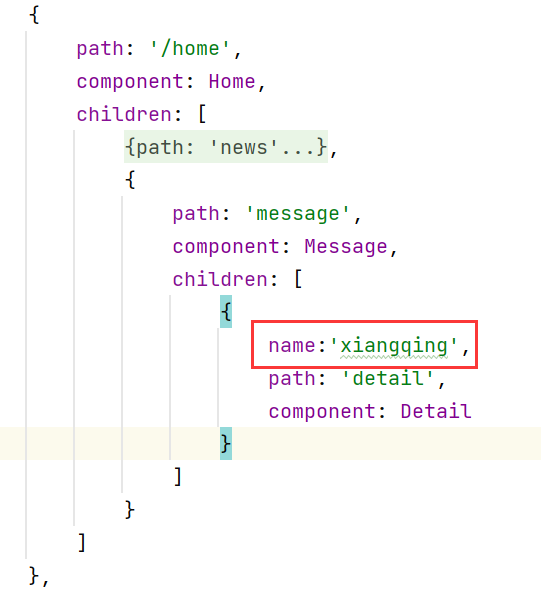
在 Message 跳转 Detail 时,代码可以简化为:
<router-link :to="{
          name:'xiangqing',
          query:{
            id:m.id,
            title:m.title
          }
        }">
index.js 中给 about 增加 name 属性
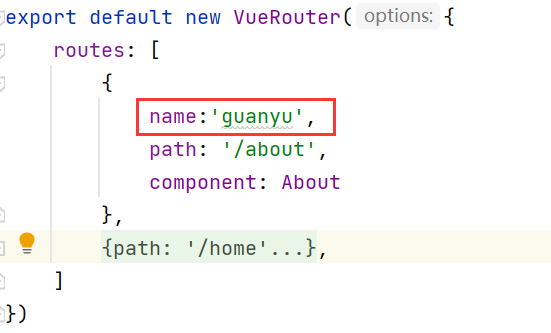
App.vue 中
<!--          <router-link class="list-group-item" active-class="active" to="/about">About</router-link>-->
<router-link class="list-group-item" active-class="active" :to="{name:'guanyu'}">About</router-link>
路由的params参数
首先需要配置 index.js,使用占位符 params 参数
export default new VueRouter({
    routes: [
        {......},
        {
            path: '/home',
            component: Home,
            children: [
                {......},
                {
                    path: 'message',
                    component: Message,
                    children: [
                        {
                            name:'xiangqing',
                            path: 'detail/:id/:title',
                            component: Detail
                        }
                    ]
                }
            ]
        },
    ]
})
Message.vue 中传值,使用字符串写法:
<!--跳转路由并携带params参数,to的字符串写法-->
<router-link :to="`/home/message/detail/${m.id}/${m.title}`">{{m.title}}</router-link>
或者使用对象写法
特别注意:路由携带params参数时,若使用to的对象写法,则不能使用path配置项,必须使用name配置!
<!--跳转路由并携带params参数,to的对象写法-->
        <router-link :to="{
          name:'xiangqing',
          params:{
            id:m.id,
            title:m.title
          }
        }">
          {{ m.title }}
        </router-link>
Detail 中取值
  <li>消息编号:{{$route.params.id}}</li>
  <li>消息标题:{{$route.params.title}}</li>
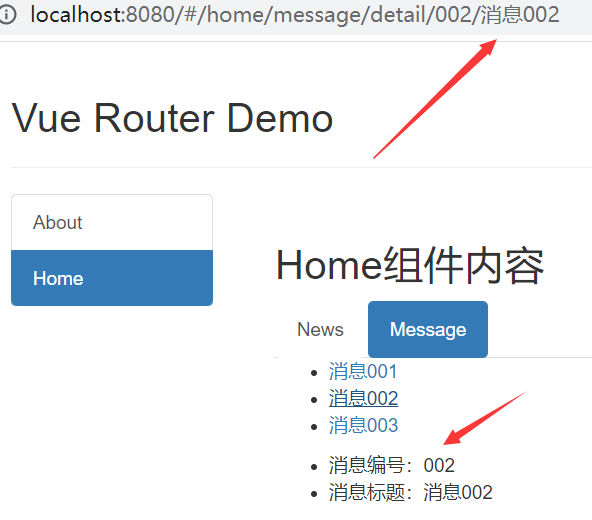
点击消息002时:
props配置
我们关注一个问题,在 Detail 中,我们接收参数时使用 $route.params.id、$route.params.title,如果参数很多,会重复写很多次 $route.params.xxx,为了解决这个问题,就用到了 props 配置
修改 index.js,哪里接收参数就在哪里配置
第一种写法:
children: [
	{
		name:'xiangqing',
        path: 'detail/:id/:title',
        component: Detail,
        //props的第一种写法,值为对象,该对象中的所有key-value都会以props的形式传给Detail组件。
        props:{
        	a:1,
            b:"hello"
        }
    }
]
接收时使用 props 接收,使用插值语法读出来即可
<template>
<ul>
  <li>{{a}}{{b}}</li>
</ul>
</template>

<script>
export default {
  name: "Detail",
  props:['a','b']
}
</script>
第二种写法
修改 index.js
children: [
	{
		name:'xiangqing',
        path: 'detail/:id/:title',
        component: Detail,
		//props的第二种写法,值为布尔值
		//若布尔值为真,就会把该路由组件收到的所有params参数,以props的形式传给Detail组件
        props:true
    }
]
Detail 接收时
<template>
<ul>
  <li>消息编号:{{id}}</li>
  <li>消息标题:{{title}}</li>
</ul>
</template>

<script>
export default {
  name: "Detail",
  props:["id","title"]
}
</script>
第三种写法
第二种写法只适合 params 传参。我们看下第三种写法适合 query。修改 index.js
children: [
	{
		name:'xiangqing',
        path: 'detail/',
        component: Detail,
		//props的第三种写法,值为函数
        props($route){
           return {id:$route.query.id,title:$route.query.title}
        }
        //或简写为结构赋值
        props({query}){
        	return {id:query.id,title:query.title}
        }
        //或接着结构赋值
        props({query: {id, title}}) {
        	return {id, title}
        }
    }
]
Message.vue 中使用 query 传参
<router-link :to="{
          name:'xiangqing',
          query:{
            id:m.id,
            title:m.title
          }
        }">
          {{ m.title }}
</router-link>
Detail 中接收时仍是同上面一样
<template>
<ul>
  <li>消息编号:{{id}}</li>
  <li>消息标题:{{title}}</li>
</ul>
</template>

<script>
export default {
  name: "Detail",
  props:["id","title"]
}
</script>
小结:路由的props配置
作用:让路由组件更方便的收到参数
{
	name : 'xiangqing',
	path : 'detail/:id',
	component: Detail,
	//第一种写法: props值为对象,该对象中所有的key-value的组合最终都会通过props传给Detail组件
	//props:{a: 900}
	//第二种写法: props值为布尔值,布尔值为true,则把路由收到的所有params参数通过props传给Detail组件
	// props :true
	//第三种写法:props值为函数,该函数返回的对象中每一组key-value都会通过props传给Detail组件
	props(route){
		return {
			id : route.query.id,
			title:route.query.title
		}
	}
}
下一节:Vue 编程式路由导航